How to Develop a Virtual Conferencing Website like Google Meet with Django and Jitsi API (Part 2 of 2).


Table of contents


No headings in the article.
After the first part of this article, I received several questions from Individuals which is majorly based on how to distinguish between Guest and the Moderator of the meeting.
Yes, The truth is that the free tier of Jitsi treat all meeting participants the same, and The first person to join the meeting will be given the admin privilege.
But in this second part of the article, I will be sharing one of the ways I was able to by pass this limitation.
Ensure to read to the end and don't forget to drop a comment on reach out if you have further questions on LinkedIn.
kindly clone the repo here Repo to follow along.
Lets start by updating our models.py files.
We are going to add a duration field, which holds the duration of the meeting and will be used to prepopulate the
ending_date_timeon save of the Meeting models.Also, we will be adding another property
after_meetingthat check to see if the meeting has ended.
update your models.py with the below
from django.db import models
from django.contrib.auth.models import User
import uuid
from django.utils.text import slugify
from datetime import timedelta
from django.utils import timezone

class Meeting(models.Model):
    creator = models.ForeignKey(User, on_delete=models.CASCADE)  # creator of the meeting
    title_of_meeting = models.CharField(max_length=150)
    created = models.DateTimeField(auto_now_add=True)  # the time meeting was created
    updated = models.DateTimeField(auto_now=True)  # time meeting was updated
    duration = models.PositiveIntegerField()
    starting_date_time = models.DateTimeField()
    ending_date_time = models.DateTimeField()
    unique_meeting_name = models.TextField(blank=True, null=True)

    def __str__(self):
        return '%s: %s' % (self.creator, self.title_of_meeting)

    def save(self, *args, **kwargs):
        if self.duration:
            self.ending_date_time = self.starting_date_time + timedelta(minute=self.duration)

        if not self.unique_meeting_name:
            self.unique_meeting_name = slugify(
                str(self.title_of_meeting) + '-' + str(uuid.uuid4())
            )
        return super(Meeting, self).save()

    @property
    def meeting_time(self):
        """
        this is a model property for checking if it is meeting time. we shall be using
        this in the views
        """
        return (timezone.now() >= self.starting_date_time)


    @property
    def after_meeting(self):
        """
        will check if the time for the meeting has passed, i.e. meeting has ended"""

        return (timezone.now() >= self.ending_date_time)
- run
python manage.py makemigrationsenter a default value to populate the existing duration field in the database with, and hit enter. then runpython manage.py migrate.
Lets update our views.py with the code below.
- we set the condition to check if it is time for the meeting, or it is after the meeting, and then send the right message to the users based on the conditions.
def meeting(request, unique_meeting_name):
    message = None
    meeting = Meeting.objects.get(unique_meeting_name=unique_meeting_name)

    if not meeting.meeting_time:
        """
        will check if it is not time for the meeting using the property we declared in the model.
        """
        now = timezone.localtime()
        t = abs(now - meeting.starting_date_time).total_seconds()
        MinutesGet, SecondsGet = divmod(t, 60)
        HoursGet, MinutesGet = divmod(MinutesGet, 60)

        message = f"it is not the time for meeting {meeting.title_of_meeting}, Meeting starts in {HoursGet} Hours : {MinutesGet} Minutes : {'{:.2f}'.format(SecondsGet)} Seconds."
        # return render(request, 'onlinemeet/meeting_list.html', {'meetings': meetings})
        print(now, message)

        messages.warning(request, message)
        # return render(request, 'onlinemeet/meeting_list.html', {'meetings': meetings})
        return HttpResponseRedirect(reverse('home'))

    elif meeting.after_meeting:
        """ will check if the meeting time has passed"""
        now = timezone.localtime()
        t = abs(meeting.ending_date_time - now).total_seconds()
        MinutesGet, SecondsGet = divmod(t, 60)
        HoursGet, MinutesGet = divmod(MinutesGet, 60)

        message = f"The meeting {meeting.title_of_meeting}, ended {HoursGet} Hours : {MinutesGet} Minutes : {'{:.2f}'.format(SecondsGet)} Seconds."
        print(now, message)
        messages.warning(request, message)
        return HttpResponseRedirect(reverse('home'))


    if not request.user == meeting.creator:
        """check to know if the current user is not the creator of the meeting
        if True, then the guest page template will be rendered."""
        return render(request, 'onlinemeet/guest.html', {'meeting': meeting})


   return render(request, 'onlinemeet/meeting_page.html', {'meeting': meeting})
We will be using two different templates for the Guest and the Creator. As stated at the begining of the article, This ia way to give different privileges to the creator of the meeting, such as; kicking out participants, muting all and a separate one for the guests.
create a new template file called guest.html in your template directory. if you are following the clone repo of the first article, create the guest.html file in the onlinemeet/templates/onlinemeet/guest.html
Add the code below in the guest.html file.
<!doctype html>
<html lang="en">
<head>
    <meta charset="UTF-8">
    <meta name="viewport"
          content="width=device-width, user-scalable=no, initial-scale=1.0, maximum-scale=1.0, minimum-scale=1.0">
    <meta http-equiv="X-UA-Compatible" content="ie=edge">
    <title>LIVE MEETING PAGE</title>
</head>
<body>
<h2>Title: {{meeting.title_of_meeting}}</h2>
                <div id="meet">

                </div>
{% block script %}
<script src='https://meet.jit.si/external_api.js'></script>
<script>
    const domain = 'meet.jit.si'
    const options = {
        roomName: 'JitsiMeetAPIExample',
        width: 1000,
        height: 800,
        parentNode: document.querySelector('#meet'),
        lang: 'en',  // default language, change the language to english
        configOverwrite: {
            disableRemoteMute: true,  //DISABLE MUTE ALL FEATURE IN JITSI
            remoteVideoMenu: {
                // If set to true the 'Kick out' button will be disabled for the guest.
                disableKick: true
            },
        },
        interfaceConfigOverwrite: {
            filmStripOnly: true,
            /* the toolbars that will be visible for the guest of the meeting.*/
            TOOLBAR_BUTTONS: ['microphone', 'camera', 'closedcaptions', 'desktop',
            'fullscreen', 'fodeviceselection', 'chat', 'etherpad', 'raisehand', 'filmstrip', 'shortcuts', 'tileview','download', 'help','hangup'],
        }
    };
const api = new JitsiMeetExternalAPI(domain, options);
</script>

{% endblock %}
</body>

</html>
In your onlinemeet/templates/onlinemeet/meeting_page.html, update it with the code below to add some moderator privileges for the creator of the meeting.
<!doctype html>
<html lang="en">
<head>
    <meta charset="UTF-8">
    <meta name="viewport"
          content="width=device-width, user-scalable=no, initial-scale=1.0, maximum-scale=1.0, minimum-scale=1.0">
    <meta http-equiv="X-UA-Compatible" content="ie=edge">
    <title>LIVE MEETING PAGE</title>
</head>
<body>
<h2>Title: {{meeting.title_of_meeting}}</h2>
                <div id="meet">

                </div>
{% block script %}
<script src='https://meet.jit.si/external_api.js'></script>
<script>
    const domain = 'meet.jit.si';
    const options = {
        roomName: 'JitsiMeetAPIExample',
        width: 1000,
        height: 600,
        parentNode: document.querySelector('#meet'),
        lang: 'en',  // default language, change the language to english
        configOverwrite: {
            startWithAudioMuted: true, // mute device audio by default
            startWithVideoMuted: true, // mute video by default
            prejoinPageEnabled: true, // enable prejoin page to set name
            enableLobbyChat: true,  // enable lobby chat
            localRecording: true,
            startWithAudioMuted: true,
            disableInitialGUM: true,

        },
        interfaceConfigOverwrite: {
            SHOW_CHROME_EXTENSION_BANNER: false, //ok
            TOOLBAR_ALWAYS_VISIBLE: true, // ok
            SETTINGS_SECTIONS: ['devices', 'language'],
            SHOW_POWERED_BY: false,
            TOOLBAR_ALWAYS_VISIBLE: true,
        },
        /* The toolbars that will be available for only the creator of the meeting */
        TOOLBAR_BUTTONS: ["microphone","camera","desktop","hangup","chat","raisehand","participants-pane","tileview","toggle-camera","invite","videoquality","livestreaming","mute-everyone","mute-video-everyone","sharedvideo","shareaudio","select-background","stats","settings","filmstrip"],
    };
const api = new JitsiMeetExternalAPI(domain, options);
</script>

{% endblock %}
</body>

</html>
update the onlinemeet/templates/onlinemeet/meeting_list.html with the below, so as to display the link for joining meeting, and also a button to copy the meeting link.
<!DOCTYPE html>
<html lang="en">
<head>
    <meta charset="UTF-8">
    <meta http-equiv="X-UA-Compatible" content="IE=edge">
    <meta name="viewport" content="width=device-width, initial-scale=1.0">
    <title>List of Meetings.</title>
</head>
<body>
    <h3>All Meetings created by: {{request.user | upper}}</h3>
    {% if message %}
        {{message}}
    {% endif %}

<table>
    <thead>
    <tr>
        <th>Creator</th>
        <th>Title</th>
        <th>Starting date time</th>
        <th>Ending Date & Time</th>
        <th>Join</th>
    </tr>
    </thead>
    {% for meeting in meetings %}
    <tbody>


    <tr>
    <td>{{meeting.creator}}</td>
    <td>{{meeting.title_of_meeting}}</td>
    <td>{{meeting.starting_date_time}}</td>
    <td>{{meeting.ending_date_time}}</td>
    <td><a href="{% url 'meeting' meeting.unique_meeting_name %}">Join Meeting</a>
        <td><input type="hidden" name="meeting_{{forloop.counter}}" id="{{meeting.id}}" value="{{ request.scheme }}://{{ request.get_host }}{% url 'meeting' meeting.unique_meeting_name %}" id="meeting_link">
            <button onclick="myFunction('{{meeting.id}}')">Copy Link</button></td>
    </tr>
    </tbody>
    {% endfor %}

</table>

    <script>
        function myFunction(mid) {
            console.log(mid);
            //var myButtons = document.querySelectorAll('.myclass');
            var copyText = document.getElementById(mid);
            console.log(copyText);
            //copyText.select();
            //copyText.setSelectionRange(0, 99999);

            navigator.clipboard.writeText(copyText.value);
        alert("Meeting Link copied successfully to clipboard. ");
        }
    </script>
</body>
</html>
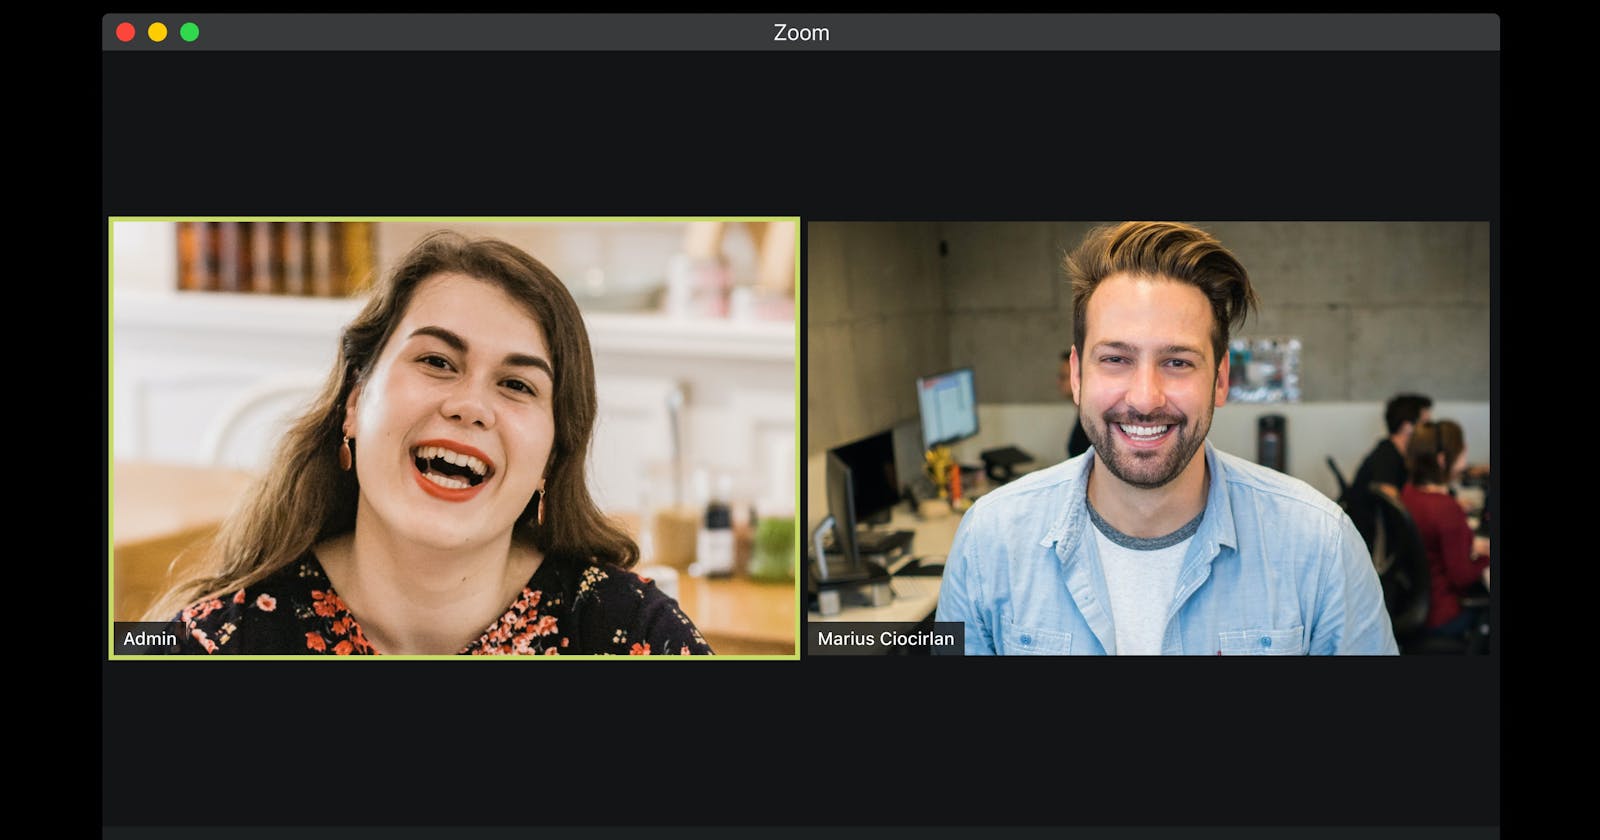
Try creating a new meeting, play around with the time logic we set in the views.py, and make sure Everything is working fine.
You just setup a online conferencing web application using Jitsi API and DJango.
For a complete list of config values you can change for in the Jitsi Api object, see configWhitelist.js and interfaceConfigWhitelist.js. which will contain description of each option and their defaults.
If have any question, or you spot any mistake in my code, kindly send a PR :) or reach out on LinkedIn.
Let me know in the comment section what you are going to be building with this new Django and Jitsi API and don't forget to share.
Thank you for reading.