How to Develop a Virtual Conferencing Website like Google Meet with Django (Part 1 of 2).


Table of contents


No headings in the article.
One of the my goals for setting up a blog is to share my discovery and also my learning with buddy developers.
In this article, I shall be taking you through how to develop a Virtual Conferencing website similar to Google Meet using Django.
To follow along, clone the repository on Github.
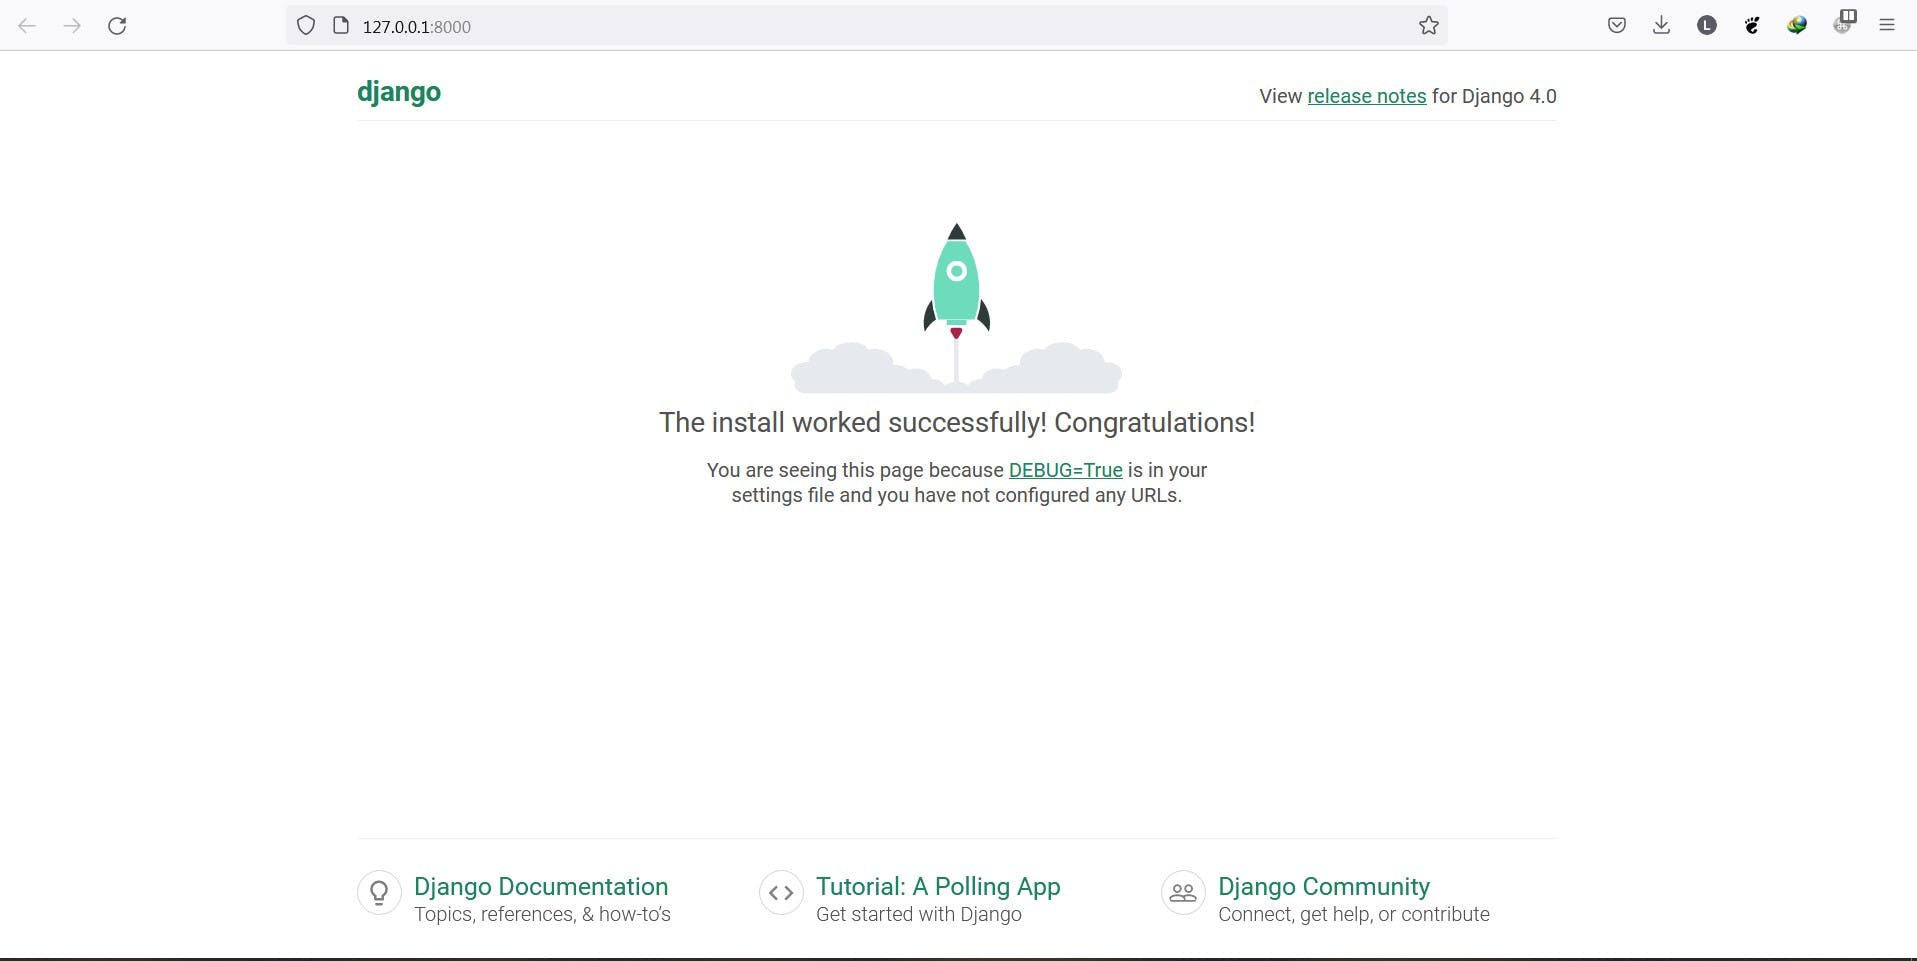
After cloning the repo, extract into a directory of your choice, run
python manage.py runserver and you should be welcome
with a page like below
Setting up the model for our meeting
from django.db import models
from django.contrib.auth.models import User
import uuid
from django.utils.text import slugify
import datetime


class Meeting(models.Model):
    creator = models.ForeignKey(User, on_delete=models.CASCADE)  # creator of the meeting
    title_of_meeting = models.CharField(max_length=150)
    created = models.DateTimeField(auto_now_add=True)  # the time meeting was created
    updated = models.DateTimeField(auto_now=True)  # time meeting was updated
    starting_date_time = models.DateTimeField()
    unique_meeting_name = models.TextField(blank=True, null=True)

    def __str__(self):
        return '%s: %s' % (self.creator, self.title_of_meeting)

    def save(self, *args, **kwargs):
        if not self.unique_meeting_name:
            self.unique_meeting_name = slugify(
                str(self.title_of_meeting) + '-' + str(uuid.uuid4())
            )
        return super(Meeting, self).save()

    @property
    def meeting_time(self):
        return (datetime.datetime.now() >= self.starting_date_time) and (
                datetime.datetime.now() <= self.ending_date_time
        )
Make migrations by running
python manage.py makemigrations
python manage.py migrate
Add our models to the admin.py file
Create a superuser and test out the admin, then enter your password twice to confirm it
python manage.py createsuperuser --username 'admin' --email 'admin@gmail.com'
Create a Meeting using the admin, leave the unique meeting name empty, as we set for it to be auto generated on save.
Lets create the form for creating new meeting, in your app directory, create a new file "forms.py"
from django import forms
from .models import Meeting


class MeetingCreateForm(forms.ModelForm):
    class Meta:
        model = Meeting
        fields = ["title_of_meeting", "starting_date_time"]

        widgets = {
            "title_of_meeting": forms.TextInput(attrs={"class": "form-control", "placeholder":
                "Title of the Meeting..."}),
            "starting_date_time": forms.DateTimeInput(attrs={"class": "form-control date"})
        }
Import the form in your views.py file, then pass the form as a context to the template. your views.py should look similar to this
from django.shortcuts import render
from .forms import MeetingCreateForm


def home(request):
    form = MeetingCreateForm()
    return render(request, 'onlinemeet/home.html', {'form': form})
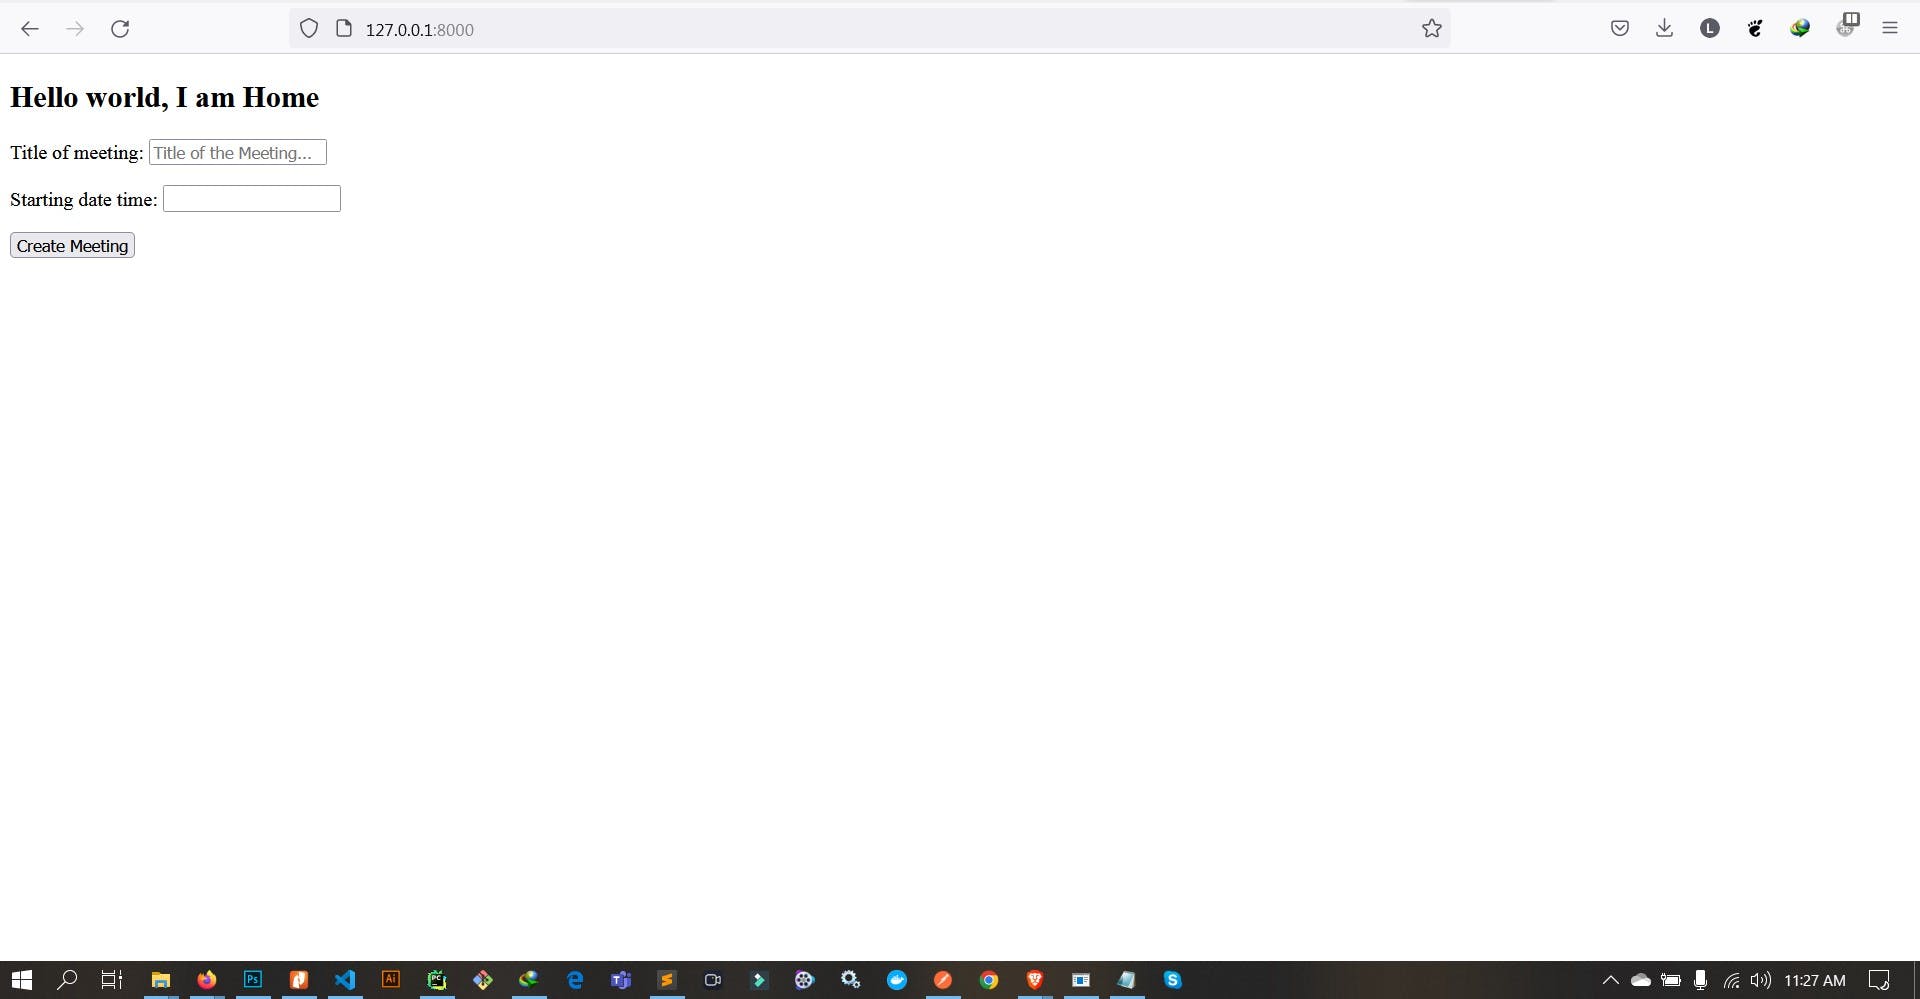
Open your template file, add the passed form, since we are going to be creating, it will be a post request
<form method="post">
{%csrf_token%}
<h2>Hello world, I am Home</h2>
{{form.as_p}}
<input type="submit" value="Create Meeting">
</form>
And if you did everything right, visit https://127.0.0.1:8000 and you should get
Let's create a view to display all meetings created by a user. Add the code below to your views.py file
from django.contrib.auth.decorators import login_required


@login_required()  # to ensure only logged in user can view this page.
def meeting_list(request):
    """We are going to filter the meeting, so only the registered user can view
    the page, and then all meeting created by such individual will be displayed"""
    user = request.user
    meetings = Meeting.objects.filter(creator=user)

    return render(request, 'onlinemeet/meeting_list.html', {'meetings': meetings})
Create a template page for the meeting_list, and then update it as below.
<h3>All Meetings created by: {{request.user | upper}}</h3>

<table>
    <thead>
    <tr>
        <th>Creator</th>
        <th>Title</th>
        <th>Created</th>
        <th>Starting Date & Time</th>
    </tr>
    </thead>
    {% for meeting in meetings %}
    <tbody>
    <tr>
    <td>{{meeting.creator}}</td>
    <td>{{meeting.title_of_meeting}}</td>
    <td>{{meeting.created}}</td>
    <td>{{meeting.starting_date_time}}</td>
    </tr>
    </tbody>
    {% endfor %}
</table>
Let's handle the post request in the home views, if the posted data is correct, then redirect to the meeting_list page.
from django.urls import reverse
from django.shortcuts import render, HttpResponseRedirect
from django.contrib import messages


def home(request):
    form = MeetingCreateForm()
    if request.method == 'POST':
        form = MeetingCreateForm(request.POST)
                if form.is_valid():
                    fm = form.save(commit=False)
                    # since in our form, we do not want to be selecting users,
                    # we have to set the creator as the current user.
                    fm.creator = request.user
                    fm.save()
                    return HttpResponseRedirect(reverse('meeting_list'))

    return render(request, 'onlinemeet/home.html', {'form': form})
Add the url path for the user meetings in your app urls.py
from django.urls import path
from . import views

urlpatterns = [
    path('', views.home, name='home'),
    path('my-meetings/', views.meeting_list, name='meeting_list'),

]
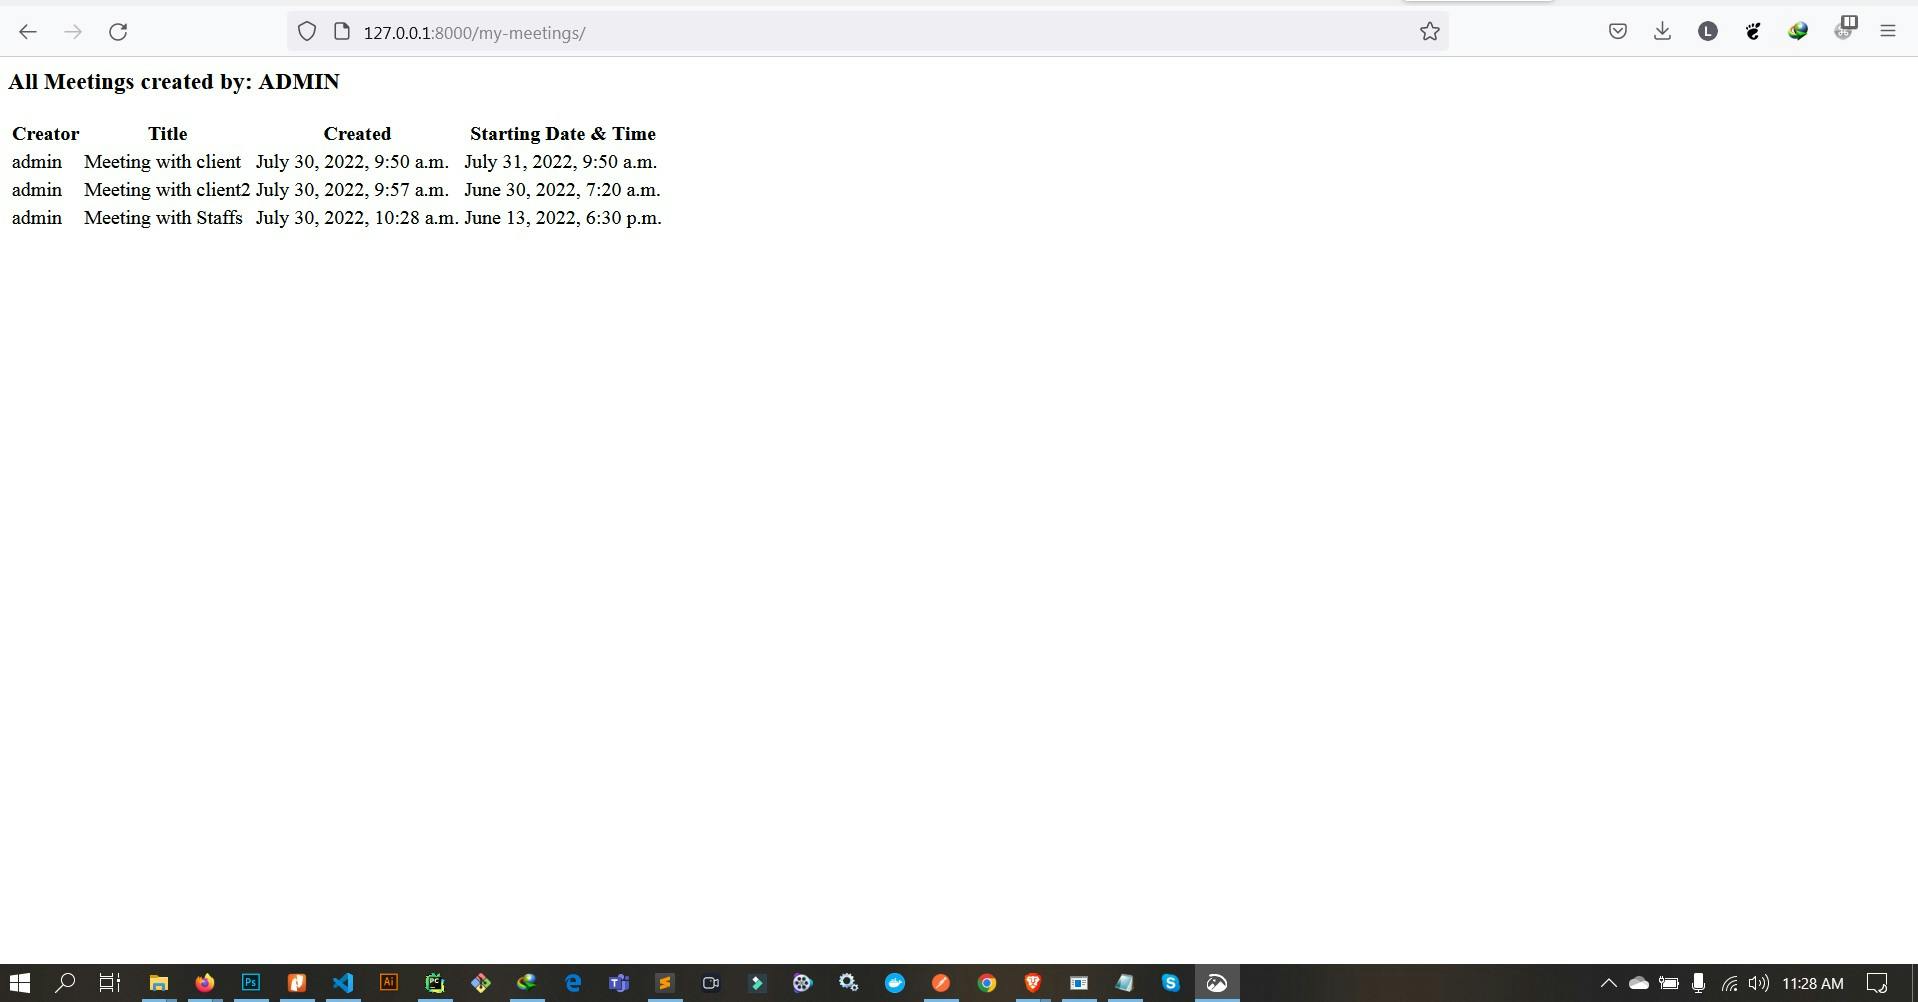
Try creating a new meeting from the home page, and make sure everything is working fine.
And if you did everything right, visit https://127.0.0.1:8000/my-meetings/ and you should get
In order to create the Meeting, we are going to be using an API.
Introduction
What is Jitsi?
Jitsi is a collection of Open Source projects which provide state-of-the-art video conferencing capabilities that are secure, easy to use and easy to self-host, and the most important thing in our case here, it is free to use 100%. We are going to be using the Iframe API, to read more about it Jitsi Docs
Embedding the Jitsi Meet API into your site or app enables you to host and provide secure video meetings with your colleagues, teams, and stakeholders. The Meet API provides a full complement of comprehensive meeting features.
Your Jitsi meetings can be hosted and attended using any device while keeping your data and privacy protected. You can reach your meeting participants anywhere in the world eliminating the need for travel and the associated inconvenience.
The IFrame API enables you to embed Jitsi Meet functionality into your meeting application so you can experience the full functionality of the globally distributed and highly available deployment available with meet.jit.si. Let's get started.
create a new html page for the meeting, and add the code below.
NB: The <div id="meet"></div> is the position whereby the Iframe is going to be placed.
<!doctype html>
<html lang="en">
<head>
    <meta charset="UTF-8">
    <meta name="viewport"
          content="width=device-width, user-scalable=no, initial-scale=1.0, maximum-scale=1.0, minimum-scale=1.0">
    <meta http-equiv="X-UA-Compatible" content="ie=edge">
    <title>LIVE MEETING PAGE</title>
</head>
<body>
<h2>Title: {{meeting.title_of_meeting}}</h2>
                <div id="meet">

                </div>
{% block script %}
<script src='https://meet.jit.si/external_api.js'></script>
<script>
    const domain = 'meet.jit.si';
    const options = {
        roomName: 'JitsiMeetAPIExample',
        width: 1000,
        height: 600,
        parentNode: document.querySelector('#meet'),
        lang: 'de'
    };
const api = new JitsiMeetExternalAPI(domain, options);
</script>

{% endblock %}
</body>

</html>
the width in the script tag above is the default width for the Iframe, and same with the height. Next, we are going to create a view to handle the meeting page.
def meeting(request, unique_meeting_id):
    meeting = Meeting.objects.filter(unique_meeting_id=unique_meeting_id)

    return render(request, 'onlinemeet/meeting_page.html', {'meeting': meeting})
The url path to the meeting page
from django.urls import path
from . import views

urlpatterns = [
    path('', views.home, name='home'),
    path('my-meetings/', views.meeting_list, name='meeting_list'),
    path('live-meeting/<unique_meeting_name>/', views.meeting, name='meeting'),

]
create a meeting in your admin view, copy the meeting unique name, and test out the live-meeting view, voila if you did everything right, you should see something similar to the image below.
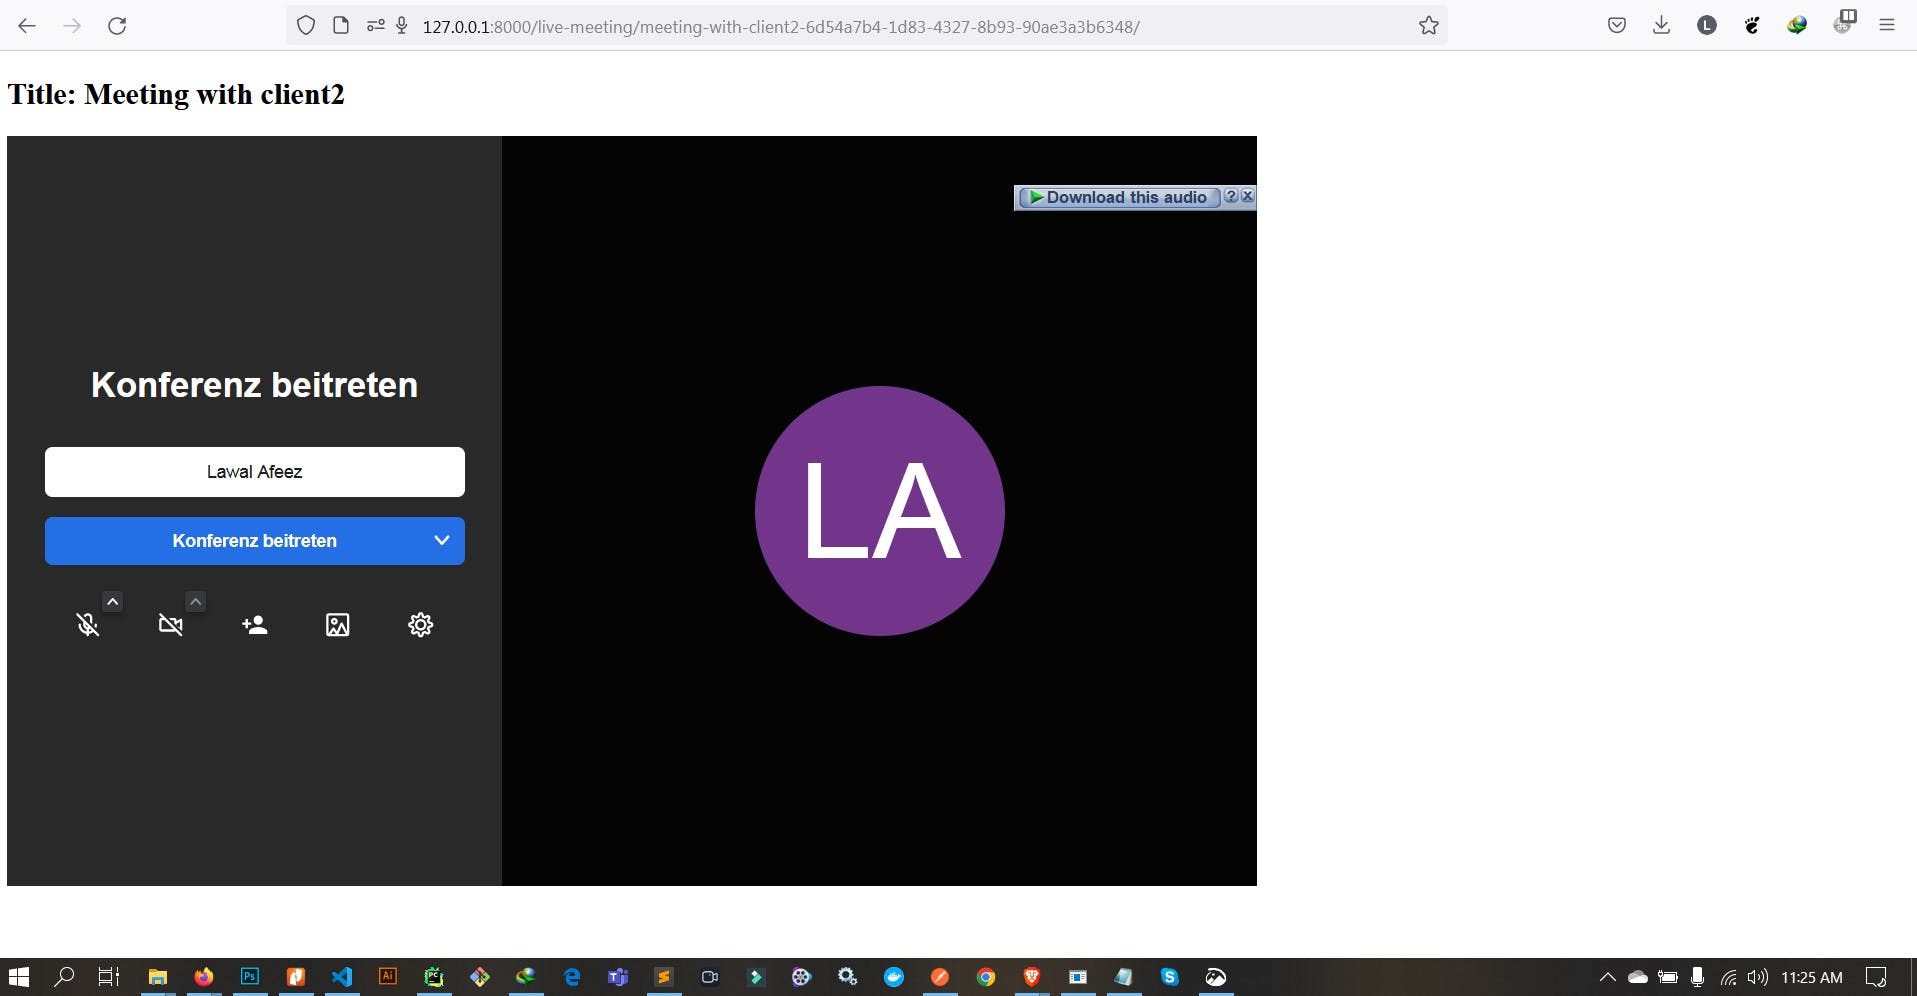
NB: The complete code is on Github
- In the next part, We are going to be adding toolbars for the creator so as to manage the meeting and also several features such as screen sharing, Recording, Chats and many more.
- Set up privileges for creator.
- Create seperate display for the meeting guest, and the creator.
- Restrict access to the meeting until the meeting time.
- Enable lobby, i.e. waiting for the creator to accept guest before they can join the meeting, and many more...
Thank you for reading and If you have any questions, don't hesitate to let me know, and I will see you in the next part of the tutorial. Also, don't forget to connect with me on LinkedIn